So far, we have learned how NOT to panic.
We have learned that offense (preparedness) is the best defense.
We have learned that adequate shelter is our #1 concern, and that adequate shelter includes your clothing, trapping heat, and can include generating heat.
We have learned how and where to source water, how to store water, and how to purify water.
That is a LOT of information in just a few short weeks, and we’re only halfway through!!
But NOW, we get to the part that starts making “survival” into a real adventure—FOOD. We will actually spend the next FOUR WEEKS talking about food—from cooking to prepping. Yes, I’m going backwards. Because you probably already have some food in your pantry, fridge, and freezer that you’ll want to use first.
Eating during a power outage can be done 1 of 3 ways:
- Eat your food cold. Canned soup is edible. Not delicious. But edible.
- Use a camp stove, like your basic Coleman stove, outdoor propane stove, or this single-burner stove. The Coleman stove and single burner stove can be used indoors, with proper ventilation, such as next to a cracked window. Also, MAKE SURE YOU HAVE THE CORRECT FUEL ON HAND! A camping stove with no fuel will be of no help to you in an emergency.
- Cook over a fire.
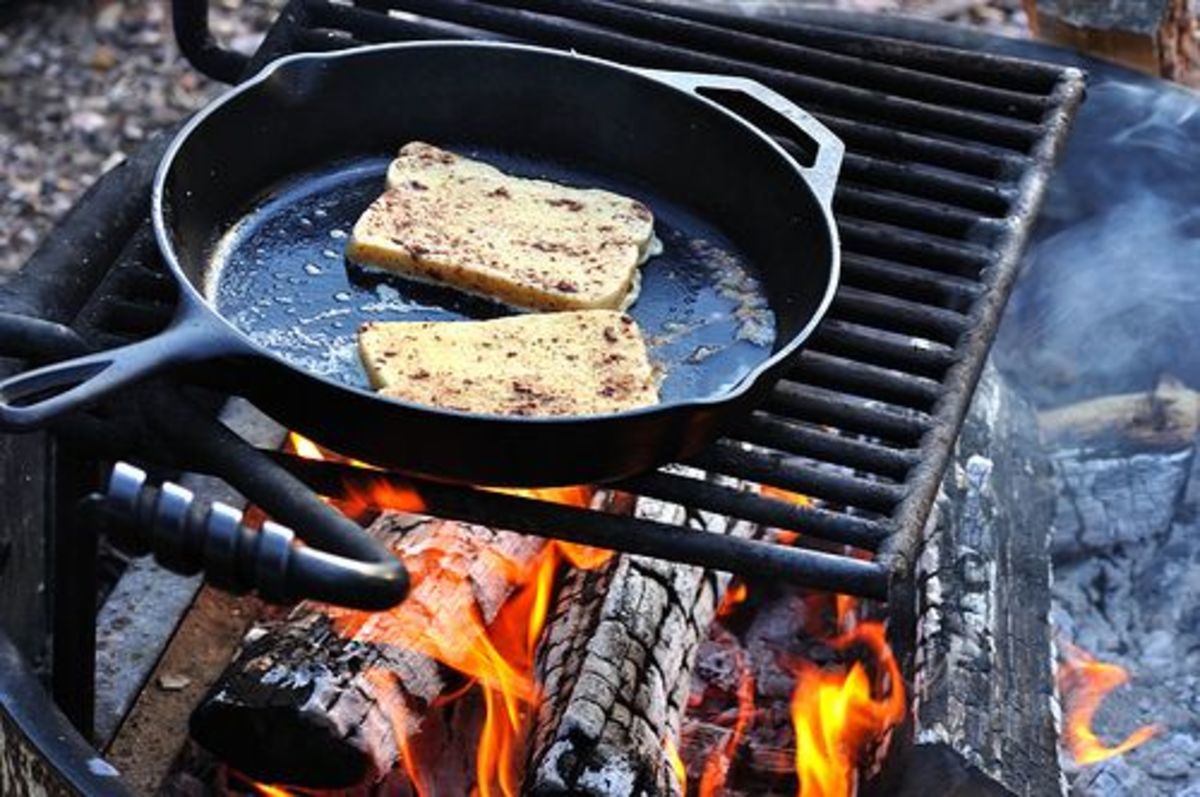
First things first. You already know how to build a fire for warmth. Now you need to learn how to configure logs for cooking. The teepee fire you learned about a couple weeks ago is great for warmth, and for cooking, if you’re outside. If you have a tripod stand to place over the flame, you can hang a pot with a handle (like a dutch oven pot). Or if your tripod has a flat surface, you can place a pot, or a skillet on the surface, directly over the flame.
You can also make a star-shaped fire, if you’re outside. This is the other one that people typically picture, and is fine if you have a low wood supply. Place your tinder in the middle of your space/pit/fireplace. Place your kindling around the tinder in a teepee shape, so plenty of air can get to the tinder. Place fuel logs flat, around the tinder and kindling, in a star shape. Light the tinder, monitor the kindling, and add more as needed, until the fuel logs catch on fire. As the fire burns, gently push in the fuel logs and add more as needed. An open-flame-safe pot or pan (such as a dutch oven, or cast iron skillet) can be used on this kind of fire, but you don’t want to place the pot or pan ON the wood when it is actively on fire. This is a good way to burn the hair off your arms, or melt your sleeves to your skin. Both are very bad scenarios! You either need some kind of grate that is a couple inches or so above the fuel logs, or wait until the flame has died down, and your logs are white hot and glowing on top. Waiting until the flames die down also creates a more stable cook surface, AND a more stable and consistent cooking temperature. You’re basically cooking on coals at this point.

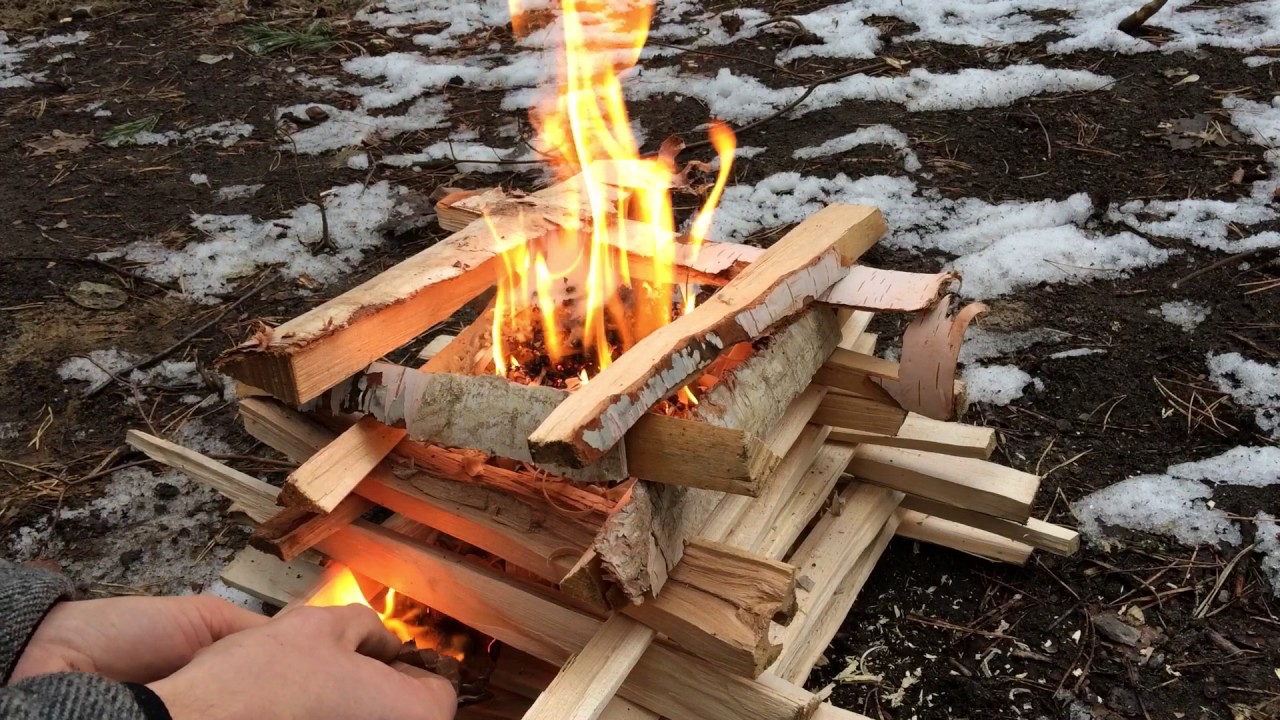
The last kind of cooking fire we’ll talk about today is a log cabin fire. This one is set up a little backwards from the other 2 we’ve talked about., and can be done easily in your wood-burning fireplace You start with fuel logs. Place 2 parallel to each other, 6-12” apart, depending on the size of your fuel logs. Your goal is to create a stable and flat cooking surface, so try to make your fuel logs similar in size to each other in each layer. Take 2 more fuel logs and place them on top, perpendicular to the bottom layer. Place tinder inside, as well as some smaller kindling. Lay larger kindling or very small fuel logs all the way (perpendicular, of course), creating a flat surface. Place some tinder on top of the flat surface. Repeat this process–stack 2 more fuel logs perpendicular to the layer of kindling, then 2 more logs perpendicular to the prior level. Place more kindling across the top. Place more tinder on top. This should be enough levels—you want 2-6, depending on inside/outside and what your goals are. You can always add more levels as your fire burns down, as a log cabin fire is great for heat as well.
For more information, visual images, and a YouTube video on log cabin fires, check out this tutorial.
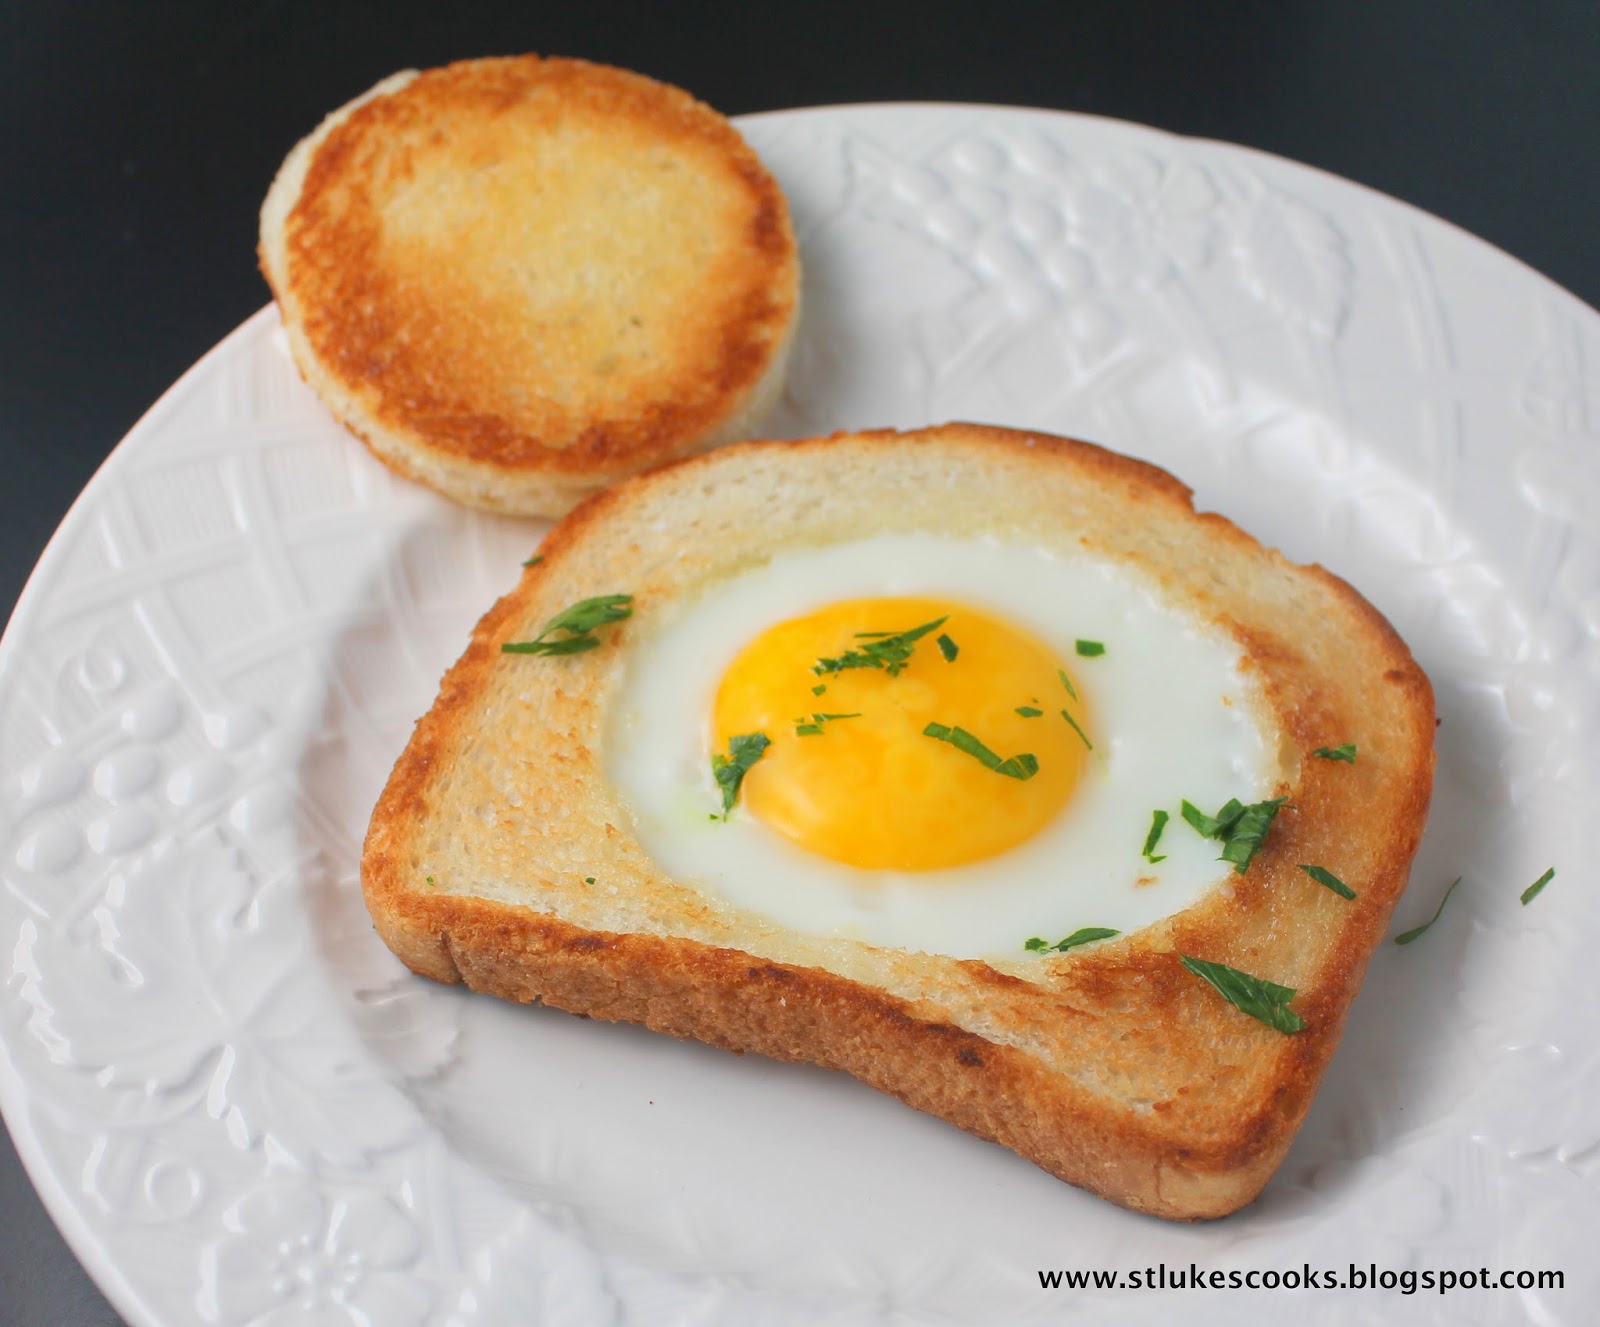
Now, this week’s homework is to build your fire or practice using your camp stove, and cook something. Again, don’t put pots or pans on top of big, hair-burning flames—put them on top of coals, or small flames. Try frying or scrambling some eggs in a skillet. Make some toast or a grilled cheese sandwich. Or, make my kids’ favorite breakfast, “egg in the middle” or “dippy eggs” or “bird’s nest”—whatever you want to call it!
- Grab a skillet (cast iron is my favorite!), set it over coals, and get it started heating up.
- Take a piece of bread. Butter 1 side.
- Make a hole in the middle using an old spaghetti jar lid, regular-size mason jar lid (or wide-mouth lid—but that might make your bread break), or a biscuit cutter. Set the cut-out piece aside.
- Place a liberal pat of butter in your skillet, and move it around to coat the bottom of the skillet.
- Take your piece of bread, and place it butter side UP/dry side DOWN.
- Crack an egg into the hole. Salt and pepper as desired.
- Take the cut-out piece of bread, and put it in the skillet, wherever it fits. Again, dry side DOWN, butter side UP.
- Cook until the egg is set on the bottom, usually a few minutes. I don’t really know how long—I’ve never timed it, but maybe I should??
- Flip both the bread with egg, and the cut out piece of bread
- Salt and pepper to taste.
- Cook until the egg is cooked how you like it. If you cook it over easy, then you can take your cutout piece of toast, and dip it in the yolk. Hence, the name “dippy egg”. 😊 If you like your yolk hard, just poke holes in the egg yolk, and flip your toast back and forth until the yolk is cooked to your desired “doneness”.
That’s it for this week, folks! Next week, we’ll use a dutch oven. We will spend 2 weeks touching on dehydrating and canning foods for longer-term storage. And last, but certainly not least, we’ll look at how not to lose our minds during a prolonged power outage.
As always, don’t hesitate to reach out with questions, comments, or concerns!

Leave a comment